5 Easy Ways to Improve Remote Podcast Audio Quality
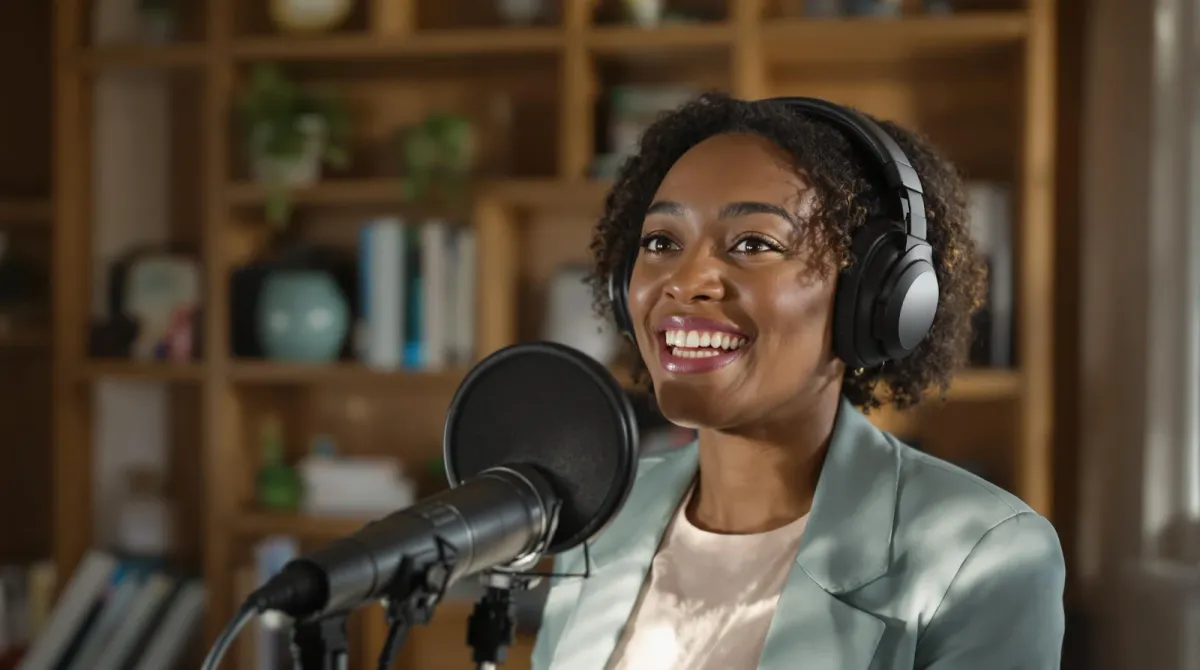
Five practical ways to improve remote podcast audio, covering microphone choice, mic positioning, room treatment, and the accessories worth buying.
You’re mid-interview, the conversation is great, and then… your guest starts echoing like they’re in a parking garage. What was shaping up to be a compelling episode suddenly becomes a sound-quality mess.
It’s one of the most common problems with remote podcasting. Echo, feedback, and tinny audio usually come from one of two things: sound bouncing off hard surfaces, or your mic picking up someone else’s voice from your speakers. It’s especially common in home offices or makeshift setups, and it’s the fastest way to lose listener trust.
The good news? You don’t need a fancy studio to fix it.
With the right mic, a few smart adjustments, and a little help from an experienced production team, you can get clean, studio-quality sound from just about anywhere. At HiveCast, we help podcasters improve their audio setup so they can stop stressing over tech and start focusing on the conversation.
- Choose the Right Equipment for Your Space
A solid mic is the foundation of good sound. Not only does it make your voice clearer, but it also makes listeners more likely to trust what you’re saying. (Yes, really: research shows that poor audio quality can actually make a speaker seem less credible and likable.)
That’s why we recommend investing in a professional-grade microphone that fits your space and experience level. Two of our favorite dynamic mics for remote recording:
- Shure MV7: A versatile mic that connects via USB (for beginners) or XLR (for more advanced setups). You can plug it right into your computer, and it includes a headphone jack so you can hear yourself clearly while recording. It also features built-in audio processing to help clean up your sound before it even reaches your editing software.
- Rode PodMic USB: A USB mic you can plug straight into your computer, no extra gear needed. It includes a built-in headphone jack for real-time monitoring and onboard processing that helps smooth out your audio and reduce background noise, giving your voice a polished, professional sound.
Not sure what type of mic you need? Here’s a quick breakdown:
- Dynamic microphones are best for most podcasters, especially in home setups. They focus on your voice and block out background noise.
- Condenser microphones are more sensitive and detailed, but they also pick up everything (including your neighbor’s dog and the hallway echo). They work best in controlled studio environments.
If you’re recording remotely or from home, a dynamic mic with a cardioid pattern is your best bet. It captures sound from the front (where you’re speaking) and minimizes everything else.
And if you’re just starting out? Look for a USB mic. It plugs straight into your computer and makes setup easy.
- Don’t Skip the Headphones
Wearing headphones is one of the simplest ways to improve your sound, and one of the most overlooked.
Here’s why they matter: if you or your guest aren’t using headphones, your mic can pick up sound from your computer speakers, creating a feedback loop that causes echo. It’s distracting, hard to fix in editing, and easily avoided.
Headphones also help you hear your own mic more accurately, catch problems in real time, and keep the audio cleaner for your editor (or your future self).
Some of our favorite options that pair well with podcasting setups:
- Shure SRH440A – Comfortable, durable, and built for accurate audio monitoring during recording sessions.
- Rode NTH-100 – Crystal-clear sound, excellent noise isolation, and specifically designed for podcasters and content creators.
Either of these will give you the sound quality and isolation you need, without the audio bleed that can ruin a great episode.
- Master Your Mic Positioning
Even with the right mic, poor placement can ruin your sound. Here’s how to set yourself up for success:
- Use a stable boom arm or mic stand to avoid vibrations and keep your audio level steady
- Avoid placing the mic near reflective surfaces like windows, monitors, or glass
- Speak directly into the front of the mic (not the top or side; check your model!)
- Sit about 4–6 inches from the mic to get a rich, clear sound without distortion
Not sure you’ve got it right? We help our clients test and fine-tune their mic placement during setup, and it makes a huge difference.
- Use Accessories to Reduce Background Noise
You don’t need a full soundproof studio to improve your room’s acoustics. A few smart accessories can make your space much more recording-friendly:
- Pop filters help soften plosive sounds (those sharp P’s and B’s)
- Shock mounts reduce bumps, taps, and vibrations from your desk
- Acoustic panels or even a few soft furnishings (rugs, curtains, pillows) help absorb echo and sound bounce
These tools aren’t expensive, and they can seriously elevate your audio quality.
- Always Run a Quick Sound Check
It’s tempting to skip, but this 2-minute habit can save you from a ruined recording.
Before every remote session:
- Record 30 seconds of silence to check for background hums
- Do a mic check at your usual distance and volume
- Confirm your headphones are connected and your external mic is selected (not your laptop mic!)
- Make sure your guest’s setup is good to go too
These small steps up front can make post-production smoother, and your episodes sound more professional.
Let’s Make Your Podcast Sound Like a Pro
At HiveCast, we help podcasters clean up their sound, simplify their setup, and take the guesswork out of podcast production, so they can show up confidently and sound like the expert they are.
👉 Partner with HiveCast to bring studio-quality sound to every remote recording. Start here →
Frequently Asked Questions
Why are headphones so important for remote podcasting?
Because they prevent echo. Without them, your mic may pick up your guest's voice from your speakers, creating a messy audio loop. Headphones keep your audio clean and let you monitor problems as they happen.
What role does equipment play in sound quality?
It's foundational. But even a great mic needs proper setup, positioning, and accessories to perform at its best. We help clients get the most out of their gear. No guesswork needed.
How do I get my guest to sound good if they're recording from home?
Encourage them to use over-ear headphones, a USB microphone, and avoid relying on in-ear buds or their laptop mic. Have them record in a quiet, soft-furnished room (like a bedroom or carpeted office) to help reduce echo and background noise. Small changes = big improvement.
Should I use Zoom to record my podcast?
Zoom works in a pinch, but it's not ideal for audio quality. Tools like Riverside or SquadCast record locally on each participant's device, which means studio-quality sound, even if your internet isn't perfect. At HiveCast, we recommend using a remote recording platform built specifically for podcasts to avoid compressed, low-fidelity audio.
Can HiveCast help improve podcast content, not just sound?
Absolutely. We offer feedback and coaching on episode structure, storytelling, pacing, and how to keep your audience coming back.
Want this handled for you?
You record. HiveCast handles the editing, show notes, graphics, and scheduling. 5,000+ episodes produced, no long-term contracts.
More on Podcast Production
Related Articles
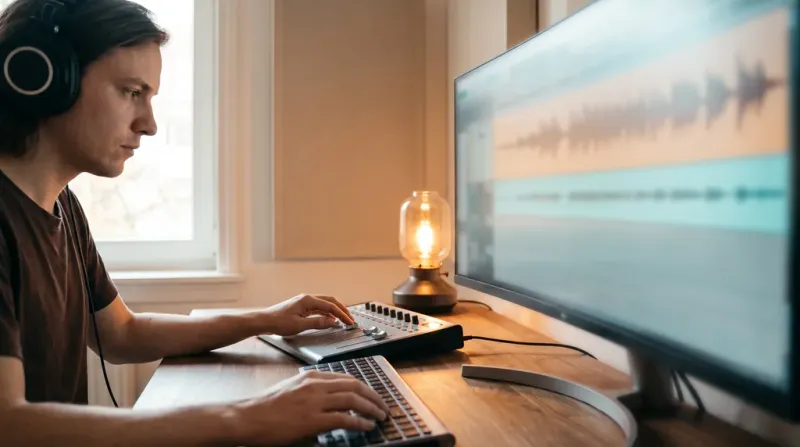
Podcast Audio Editing: The 5 Stages of a Professional Pass
Podcast audio editing covers cleanup, levels, content cuts, structure, and a final listen. Here is what a professional pass includes and how to judge one.
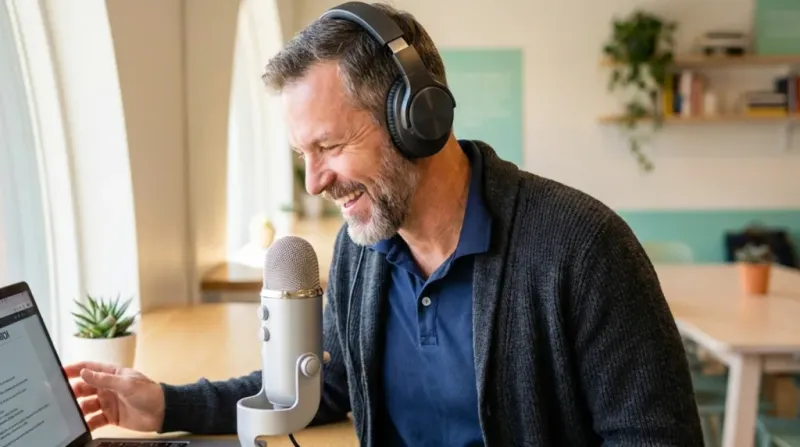
Podcast Episode Structure Explained: From Intro to Outro
Master podcast episode structure to boost listener retention and business growth. Get expert tips, segment strategies, and actionable steps. Start now!
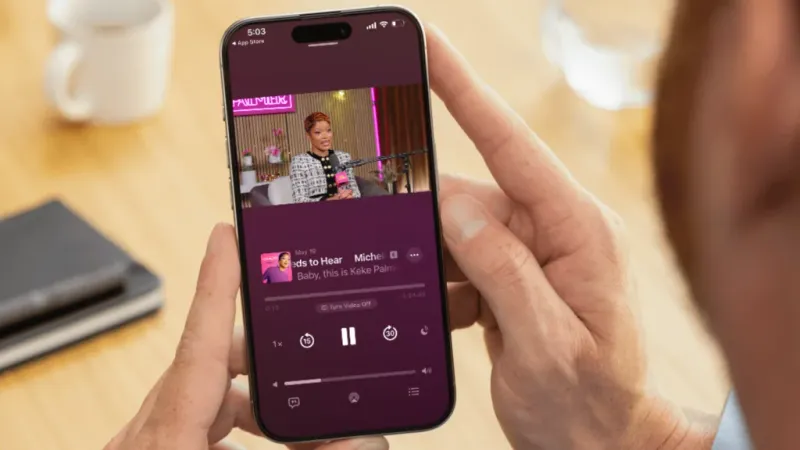
Apple Podcasts Just Added Native Video. Here's What to Know.
Apple Podcasts now supports native video. What podcasters need to know about the format, which hosts support it, and how it fits with YouTube.